Softstar Ornaments: Turning Leather Scraps into Artful Holiday Gifts
Normally here at Softstar, we design shoes. Sometimes, the opportunity arises to design something out-of-the-box. Like a desk set, an accessory or…. an ornament! This article will take you through the design process behind the giveaway ornament you may have been lucky enough to receive in your package.
What is a design process, anyway? A design process can be defined as a step-by-step method through which, in our case, a product is created. Methods can include defining the project limitations, finding the right materials, choosing colors, brainstorming designs, refining the design, finalizing the design, and finally, production! Let us take you through the steps we took to design the giveaway ornaments.
Step 1: Reduce Waste by Repurposing Extra Hides
As we began discussing ornaments, it was apparent that we should use extra hides we have stored away in our leather library. These hides are often left over from the design process or from past-season collection colors. The hides may have been too stiff or too flexible, had an unsuitable finish for our intentions, or in simple cases, the hide was not the color we had in mind for the new collection. This library has all sorts of fun hides with a healthy selection of textures, prints, thicknesses and colors waiting patiently to be used in the right project—like ornaments!
What else do we do with these hides? Sometimes, we use them during Play Day. Sometimes, we save them for a special release limited edition.
Step 2: Select Inspiring Colors for Holiday Ornaments
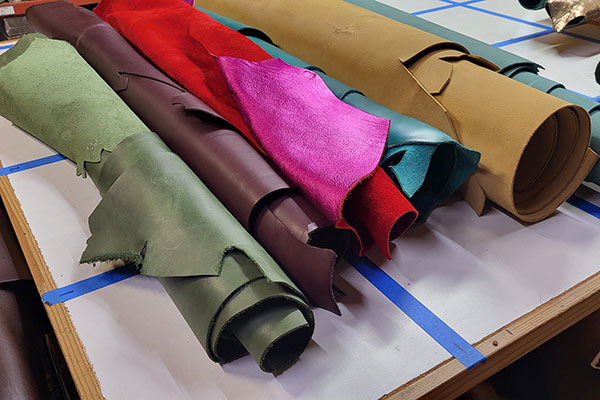
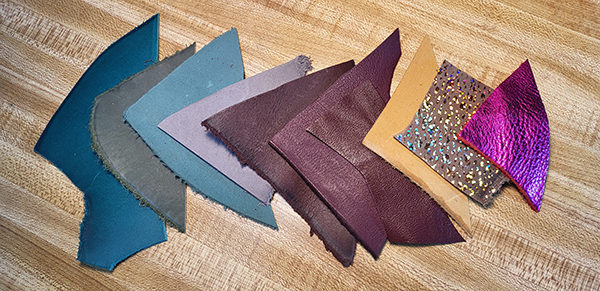
Once my selection was narrowed down from an entire shop’s worth of awesome leather, my next step was to select a few hides in colors that might be neat options for ornaments. I was drawn to colors like dark turquoise green, fern, sea glass and gray that convey wintery themes. I was also drawn to burgundies that transport you to warmth and coziness. And how could I resist the festive, joyful, and cheerful yellow, shiny pink, and iridescent gold sparkle? The shiny pink leather revealed a rich red color on the reverse side, and I knew I wanted to highlight this aspect of the hide in an ornament somehow.
Step 3: Gather Inspiration and Draw!
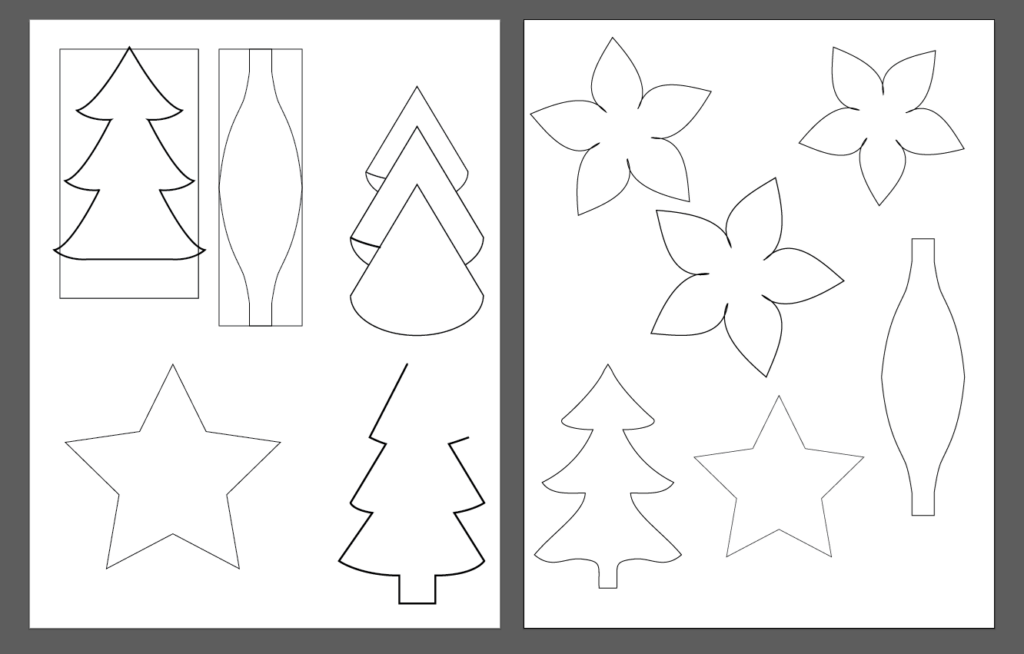
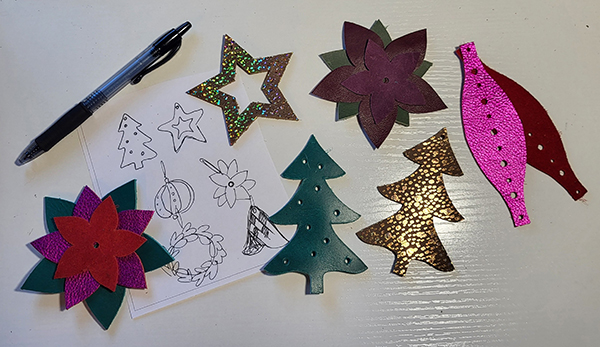
With the leather colors picked, inspiration came more quickly. Knowing we had beautiful greens available, trees were an obvious ornament choice. Gold and yellow lend themselves beautifully to stars, which for other obvious reasons was another easy choice (Softstar, anyone?). I also was brought back to my mom’s love of poinsettias during the holidays, so I created an ornament celebrating the festive plant. I also looked up paper ornaments, thinking perhaps we could do something interesting with the right leather.
Once I had drawn out my ideas, it was time to move the designs to the computer.

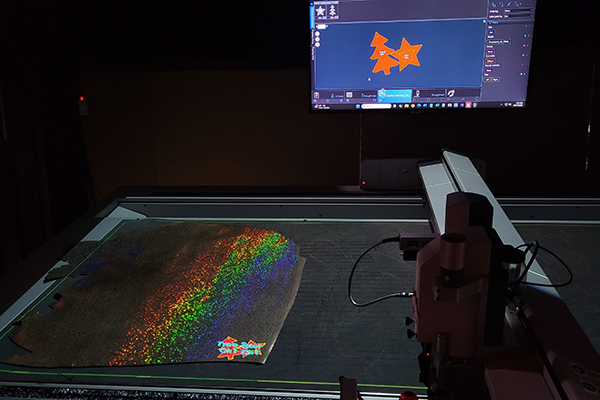
Step 4: Create Designs in Adobe Illustrator and MindCAD
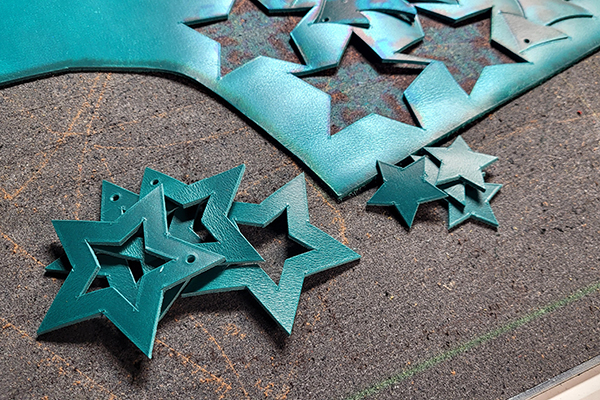
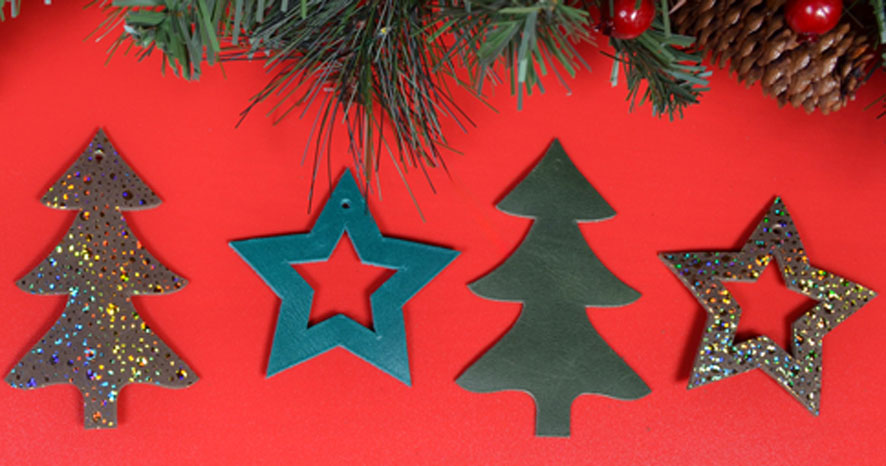
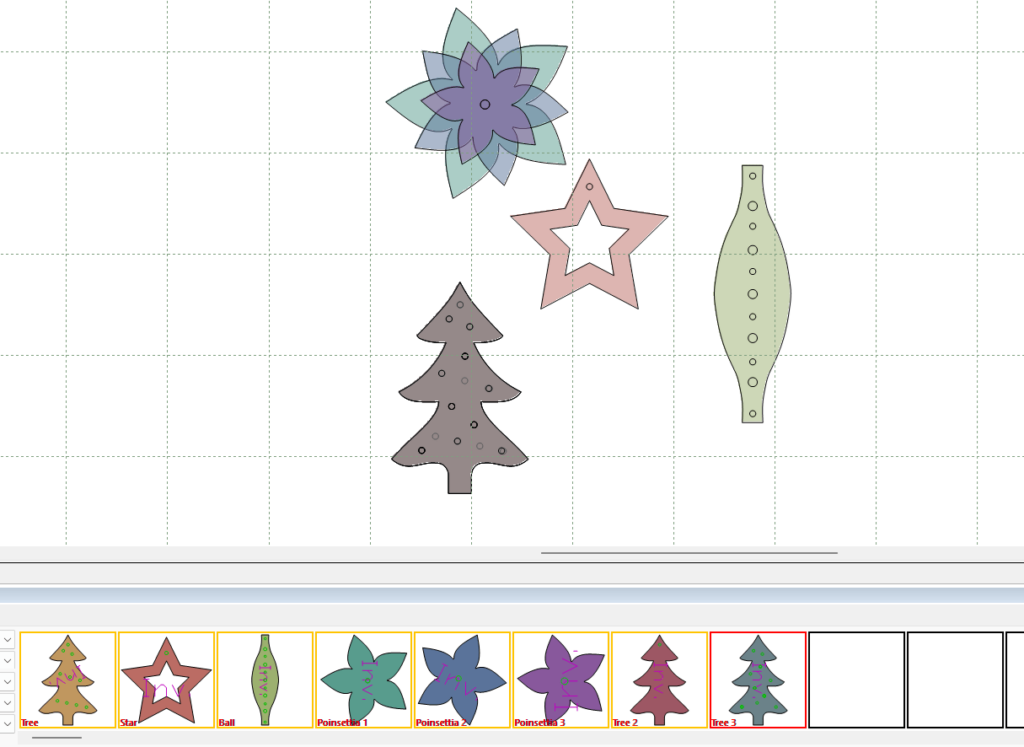
Referring to my hand drawings, I began to draw the ornaments in Adobe Illustrator. I ensured that they were symmetrical and the right size. Then, I exported the shapes to MindCAD where I created pattern pieces to be cut with our Zund cutter. I created a classic, solid version of the tree, thinking it might be a popular choice. I embellished two other versions of the tree in MindCAD to have punches that mimicked ornaments, thinking the punches might be charming if the light sparkled through. I envisioned riveting the poinsettia together and the oval shape into a ball. With the extra embellishments added, the prototypes were ready to cut.
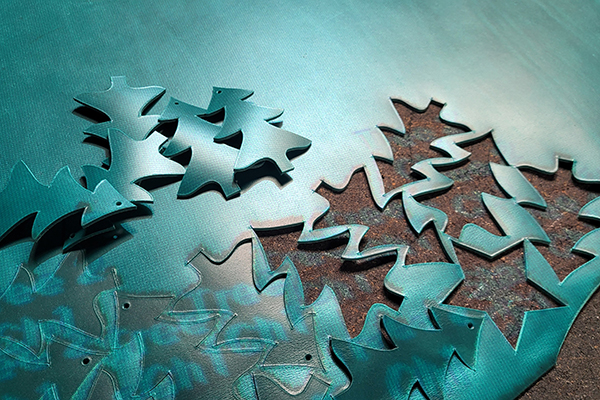
Step 5: Cut Prototypes and Refine
I cut the ornaments and arranged them as I had envisioned and presented them to the design team. I wanted to highlight how pretty and surprisingly red the backside of the shiny pink hide was, so I thought I’d reverse the leather on the two layers of leaves. I wanted to show both sides of the beautiful burgundy poinsettia leather, so I had the smooth side face out on one layer and the fuzzy side face out on the other. Unfortunately, I found the ball was not easy to construct and needed some pattern refinement and maybe even a different material set to truly work.
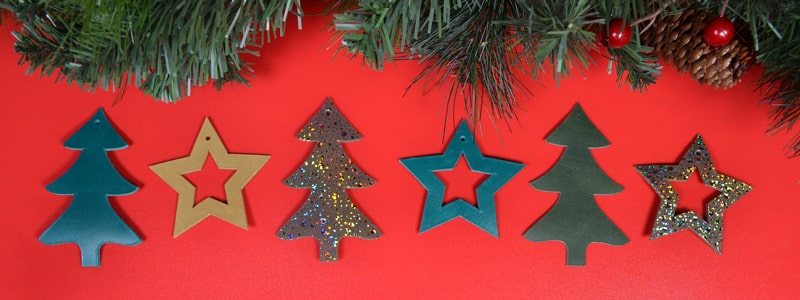
After studying all the ornament options, we discussed them as a team. We liked the simplicity and versatility of the solid tree and again, the star ornament was a no-brainer. Both were the best options for a giveaway ornament because they looked adorable, didn’t require any additional material sourcing, and required very little assembly.
As for the fate of the ball and poinsettia ornament? We decided it was best if the giveaway ornaments were no-sew and required no rivets. Very similar to the shoe design process, at times, we move away from some design ideas to make room for those that check the most boxes. I find that design is about compromise, weighing options and making well-informed decisions for the benefit of the customer and the Softstar team. An idea, while beautiful, might be too complicated, not the right direction or not the right time, and that’s to be expected. The riveted ball ornament idea was beautiful, but too complicated and unrefined for the parameters of the project. The heartfelt poinsettia ornament, with its pretty layers, may make an appearance later! So, be on the lookout.
Step 6: Cut the Production Run
With a few small edits to the tree and star complete, we were ready to cut our much-anticipated production run of giveaway ornaments. We placed our leather hides on the bed, traced the leather, nested our pieces and the Zund cut away! With all the ornaments cut and finished, we were ready to begin stuffing them into packages and shipping off to their new homes!
Crafting something from inception to completion is a magical endeavor of sorts. To have an idea, big or small, refine it and create a beautiful gift meant to be treasured is a charming, heart-warming, wonderful part of life. Happy holidays from the elves at Softstar!